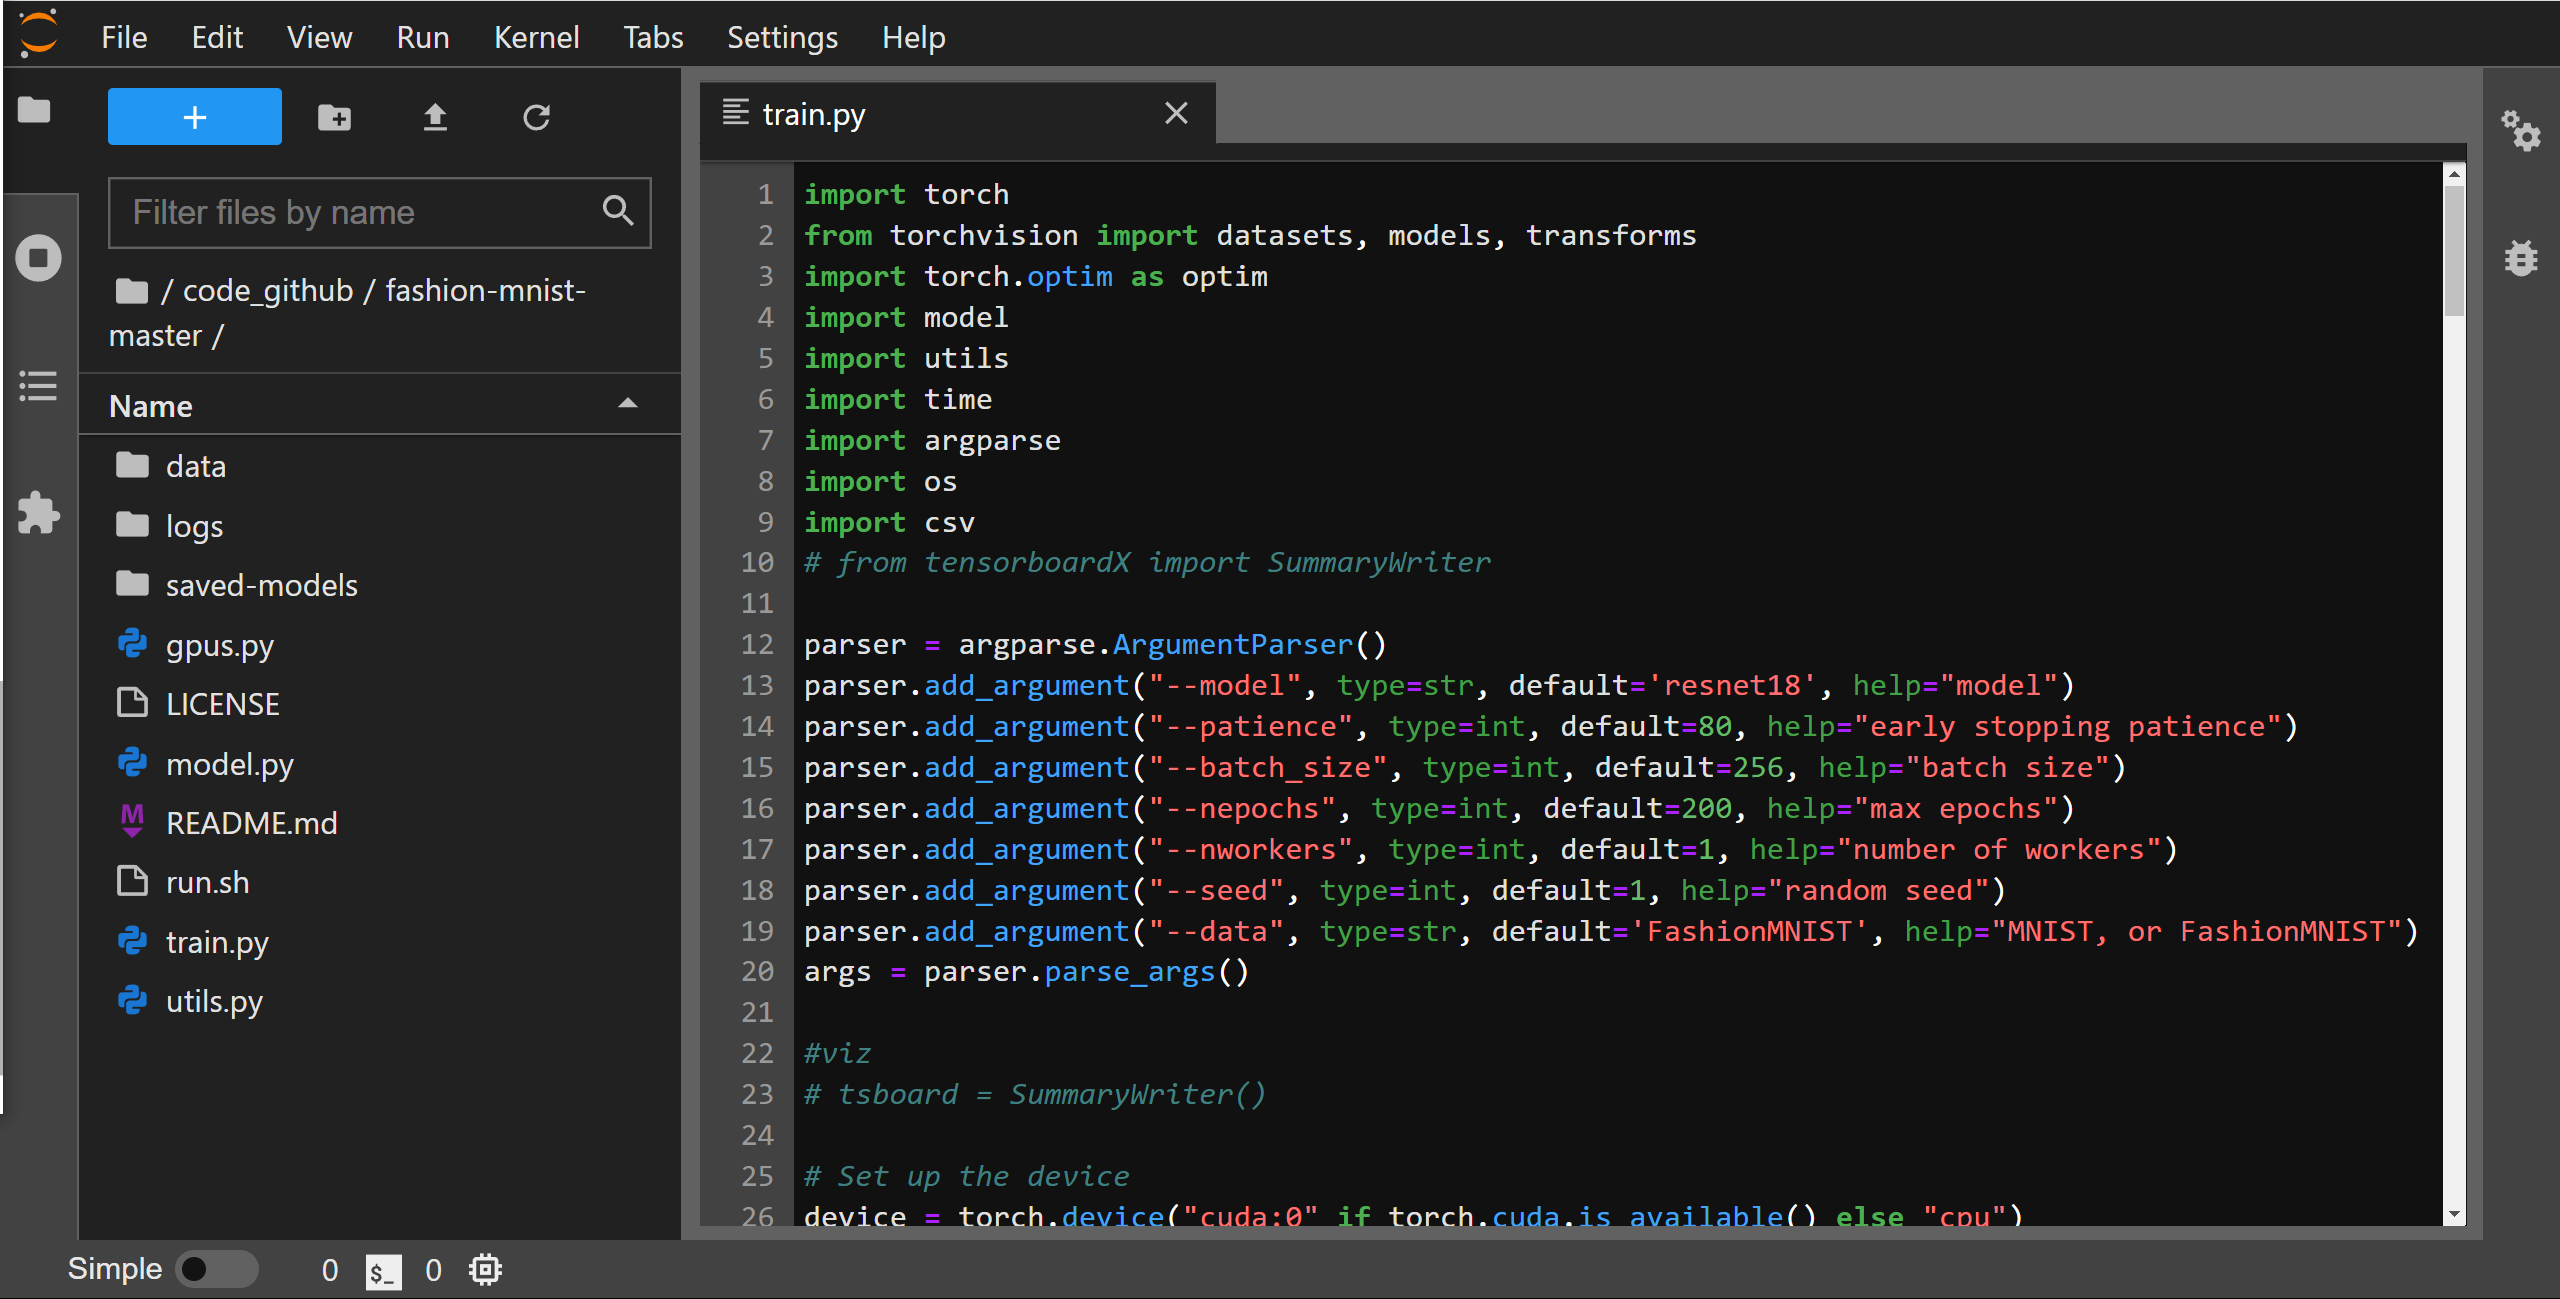
JupyterLab环境配置

JupyterLab 安装
安装
# 建议安装3.2.X版本,否则部分插件将无法使用
pip3 install jupyterlab==3.2
补充(2024.08 ) :最近发现安装的jupyterlab3的版本存在两个问题,① 代码补全软件 kite 占用的 Windows 系统资源挺高,② jupyter 打开较大代码文件时,运行界面会有明显的卡顿 😢。建议直接采用jupyterlab4 + jupyter-lsp 解决,可直接按照参考文献中已有文档重新安装 🏅。
生成配置文件
jupyter lab --generate-config
设定密码
from notebook.auth import passwd
passwd()
# 输入设定密码
# 复制生成的token

exit()
修改配置文件
在这里我为了方便自己在别的电脑上也能使用自己主机的Jupyter 服务端,取消访问用户 IP 限制,并且设置了访问密码(各位根据自己需要取舍):
c.LabApp.open_browser = False              # 浏览器是否自动打开
c.ServerApp.allow_remote_access = True     # 远程连接
c.ServerApp.ip = '*'                       # 允许所有ip访问
c.ServerApp.password = 'password'          # 添加密码
c.ServerApp.port = 1217                    # 访问端口
JupyterLab 使用 Conda 环境
给虚拟环境添加 Ipykernel
# 1. 创建环境时直接添加ipykernel
conda create -n py39 python=3.9 ipykernel

# 2. 已有环境添加
conda install -n [env_name] ipykernel
Jupyter 环境添加 kernel
# 虚拟环境写入kernel
# 第一个参数是环境名称,第二个参数是kernel显示名称
python -m ipykernel install --user --name py37 --display-name "py37"

jupyter kernelspec list # 显示所有kernel命名
jupyter kernelspec remove [kernel_name] # 移除某个kernel
Jupyter3 常用插件
# 安装基础环境
pip install npm
conda install -c conda-forge nodejs

##################################
## 代码补全插件
pip install "jupyterlab-kite>=2.0.2"
## debugger插件
conda install -c conda-forge xeus-python
jupyter labextension install @jupyterlab/debugger
## 目录插件
jupyter labextension install @jupyterlab/toc
## 交互式matplotlib插件
pip install ipympl
## 运行时间插件
pip install jupyterlab_execute_time
## plotly渲染插件
pip install plotly==5.6.0
## 表格类文件查看插件
jupyter labextension install jupyterlab-spreadsheet
## 系统占用插件
pip install jupyterlab-system-monitor
## 变量空间插件
pip install lckr-jupyterlab-variableinspector
## drawio画图插件
pip install jupyterlab-drawio
## git拓展插件
pip install jupyterlab-git
## 跳转自定义函数插件
jupyter labextension install @krassowski/jupyterlab_go_to_definition
## 使用Cookiecutter创建一个标准的Python包
pip install cookiecutter
cookiecutter https://github.com/drivendata/cookiecutter-data-science
##################################
jupyter lab build ## 安装完所需插件记得运行

# Jupyter插件管理
# 安装和卸载固定版本插件
jupyter labextension install my-extension@1.2.3
jupyter labextension uninstall my-extension@1.2.3
jupyter labextension list # 列出已所有插件

# 启动jupyterlab
jupyter lab
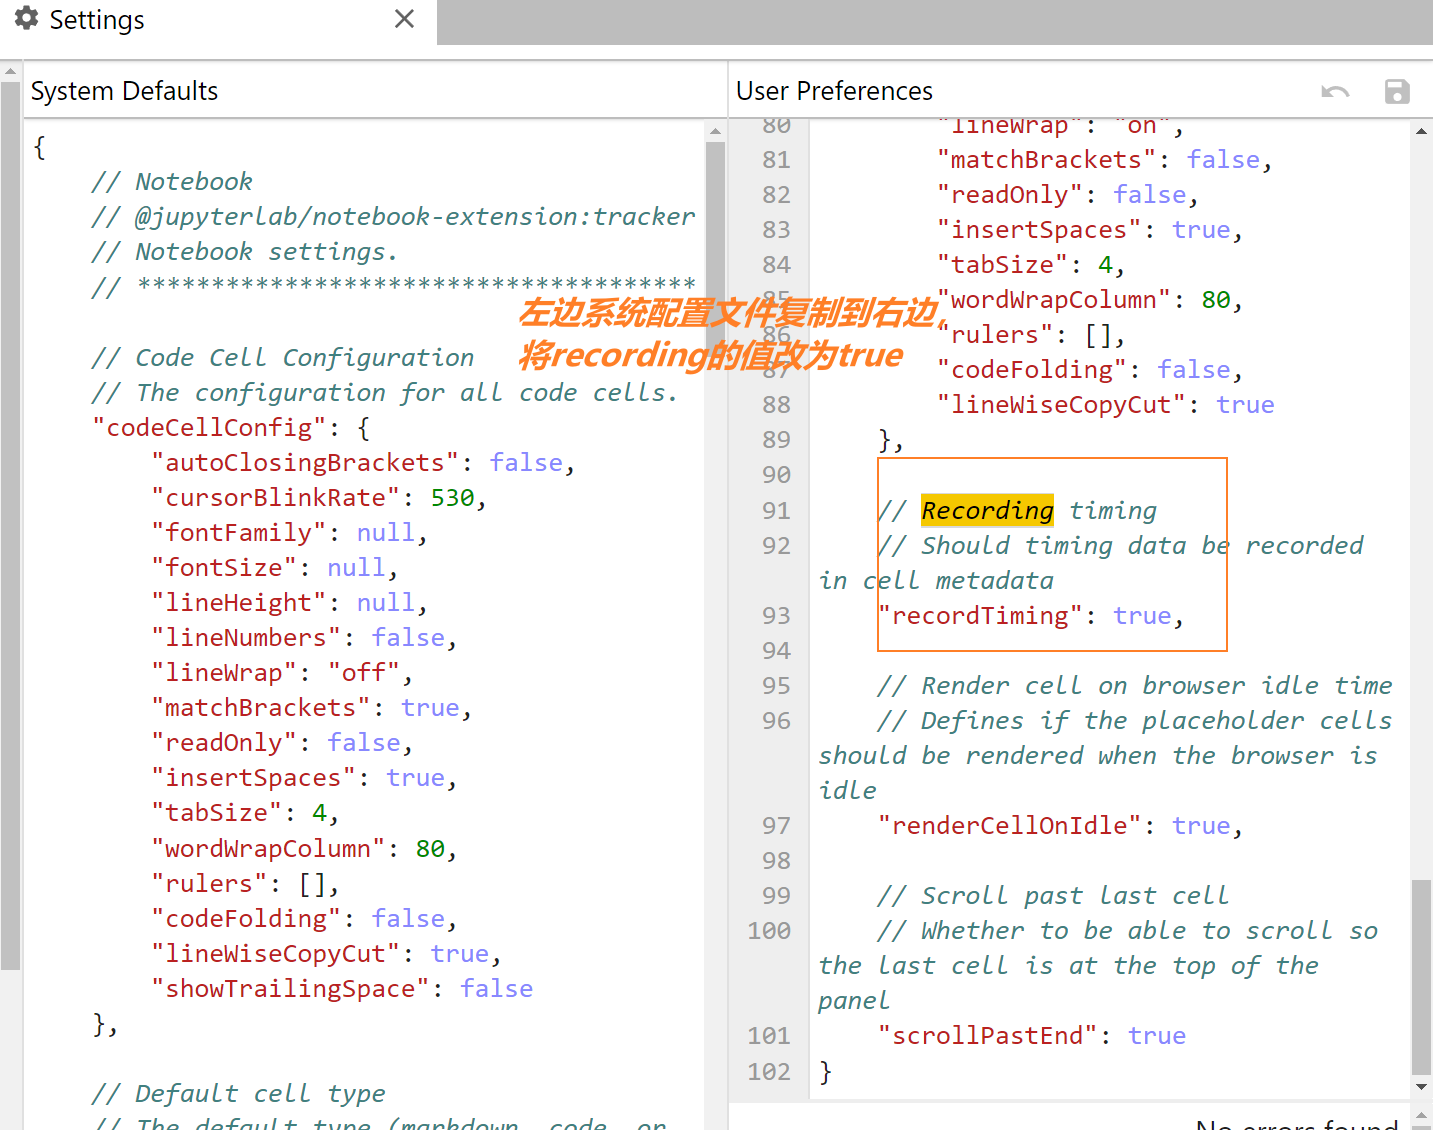
需要说明的是部分插件安装之后需要进行配置使用,例如Execute time配置:
-
插件安装后需要对 Jupyter lab 配置文件进行修改,否则无法启用
-
进入
Jupyter lab --> Settings --> Advanced Settings Editor --> Notebook修改:
代码补全
需要补充的是 JupyterLab 的代码补全插件jupyterlab-kite需要配合 kite 软件
使用,但由于部分原因,这款软件目前不可下载。这里我提供非官方可用的历史版本下载链接:

-
Windows :release.kite.com/dls/windows/current
该软件基本界面如下:
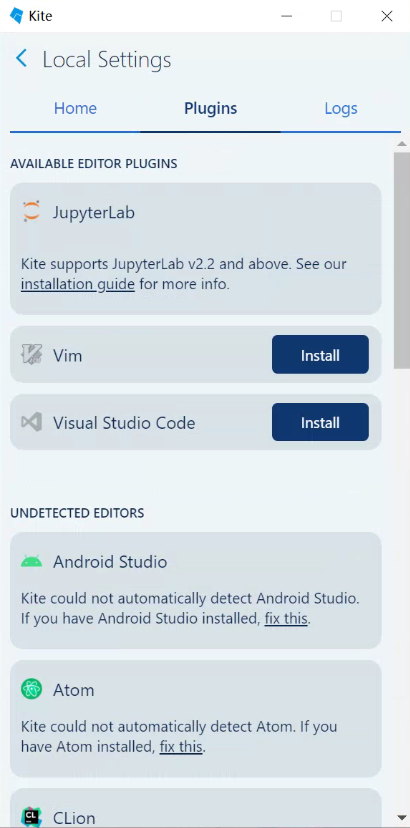
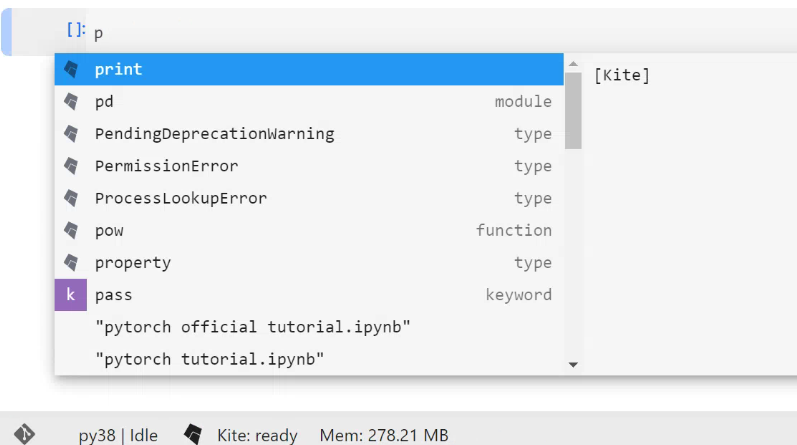
我们只需保证 kite 软件在后台运行同时确保安装了jupyterlab-kite插件,如此在 JupyterLab 写代码时便会存在自动补全功能:
主题选择
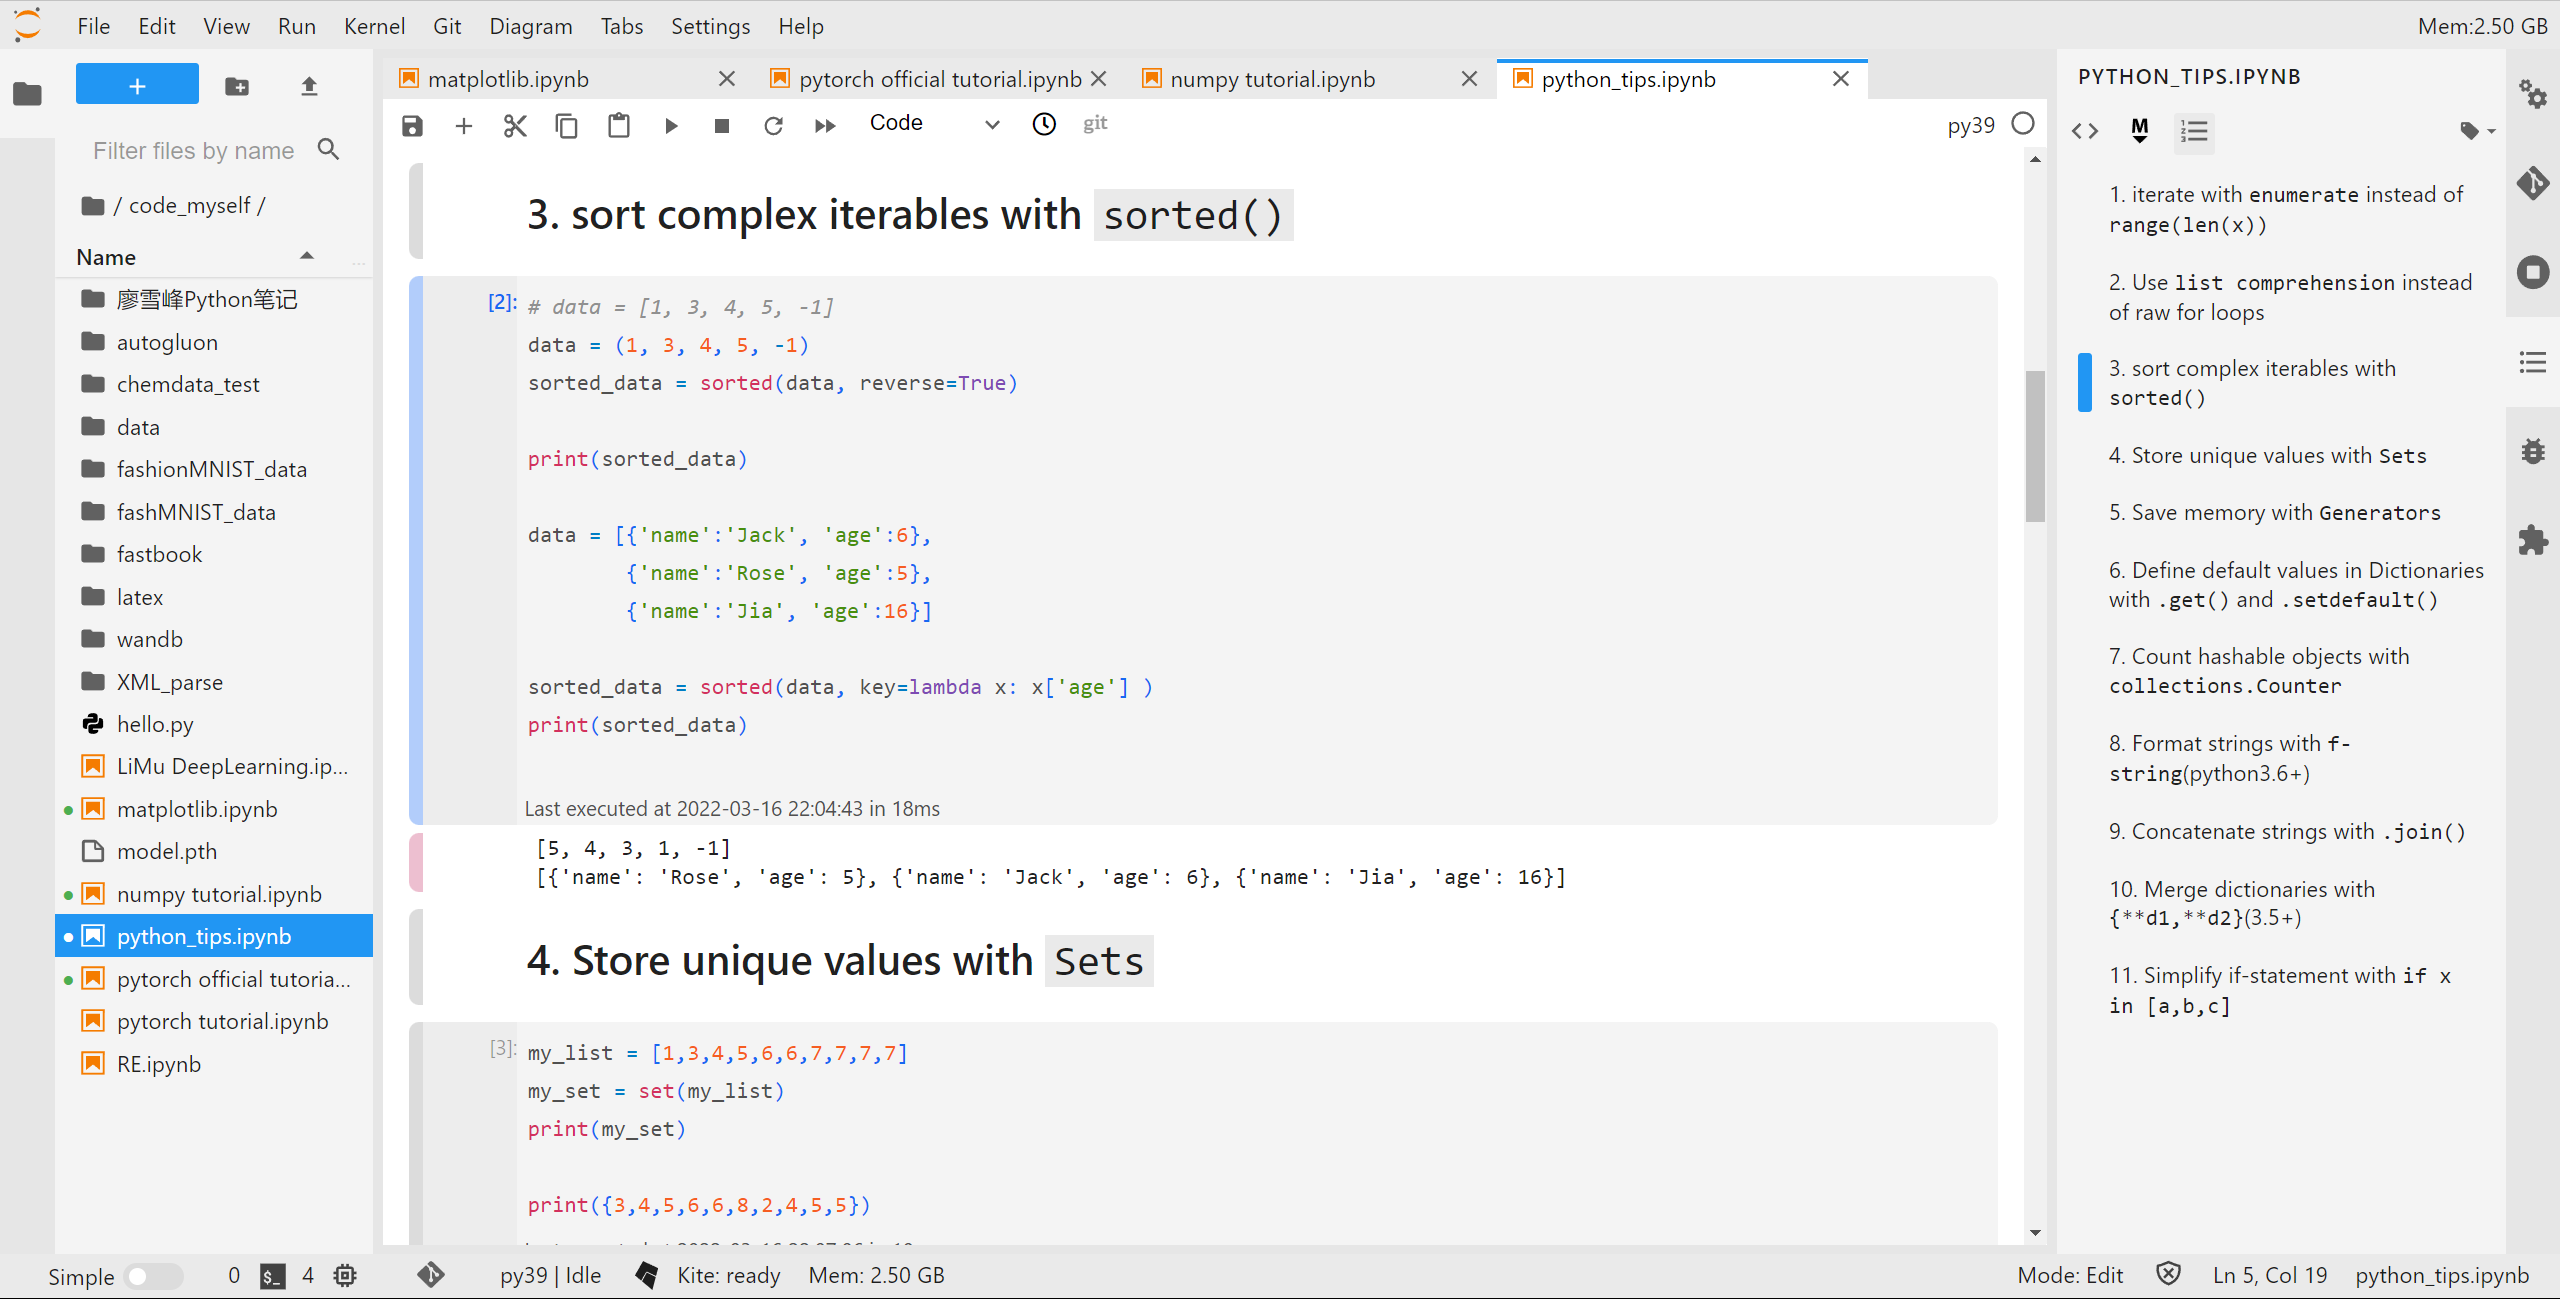
这是我自己比较喜欢的一个主题,执行pip install jupyterlab_legos_ui即可安装,在 theme 中切换到该主题得到如下效果展示:
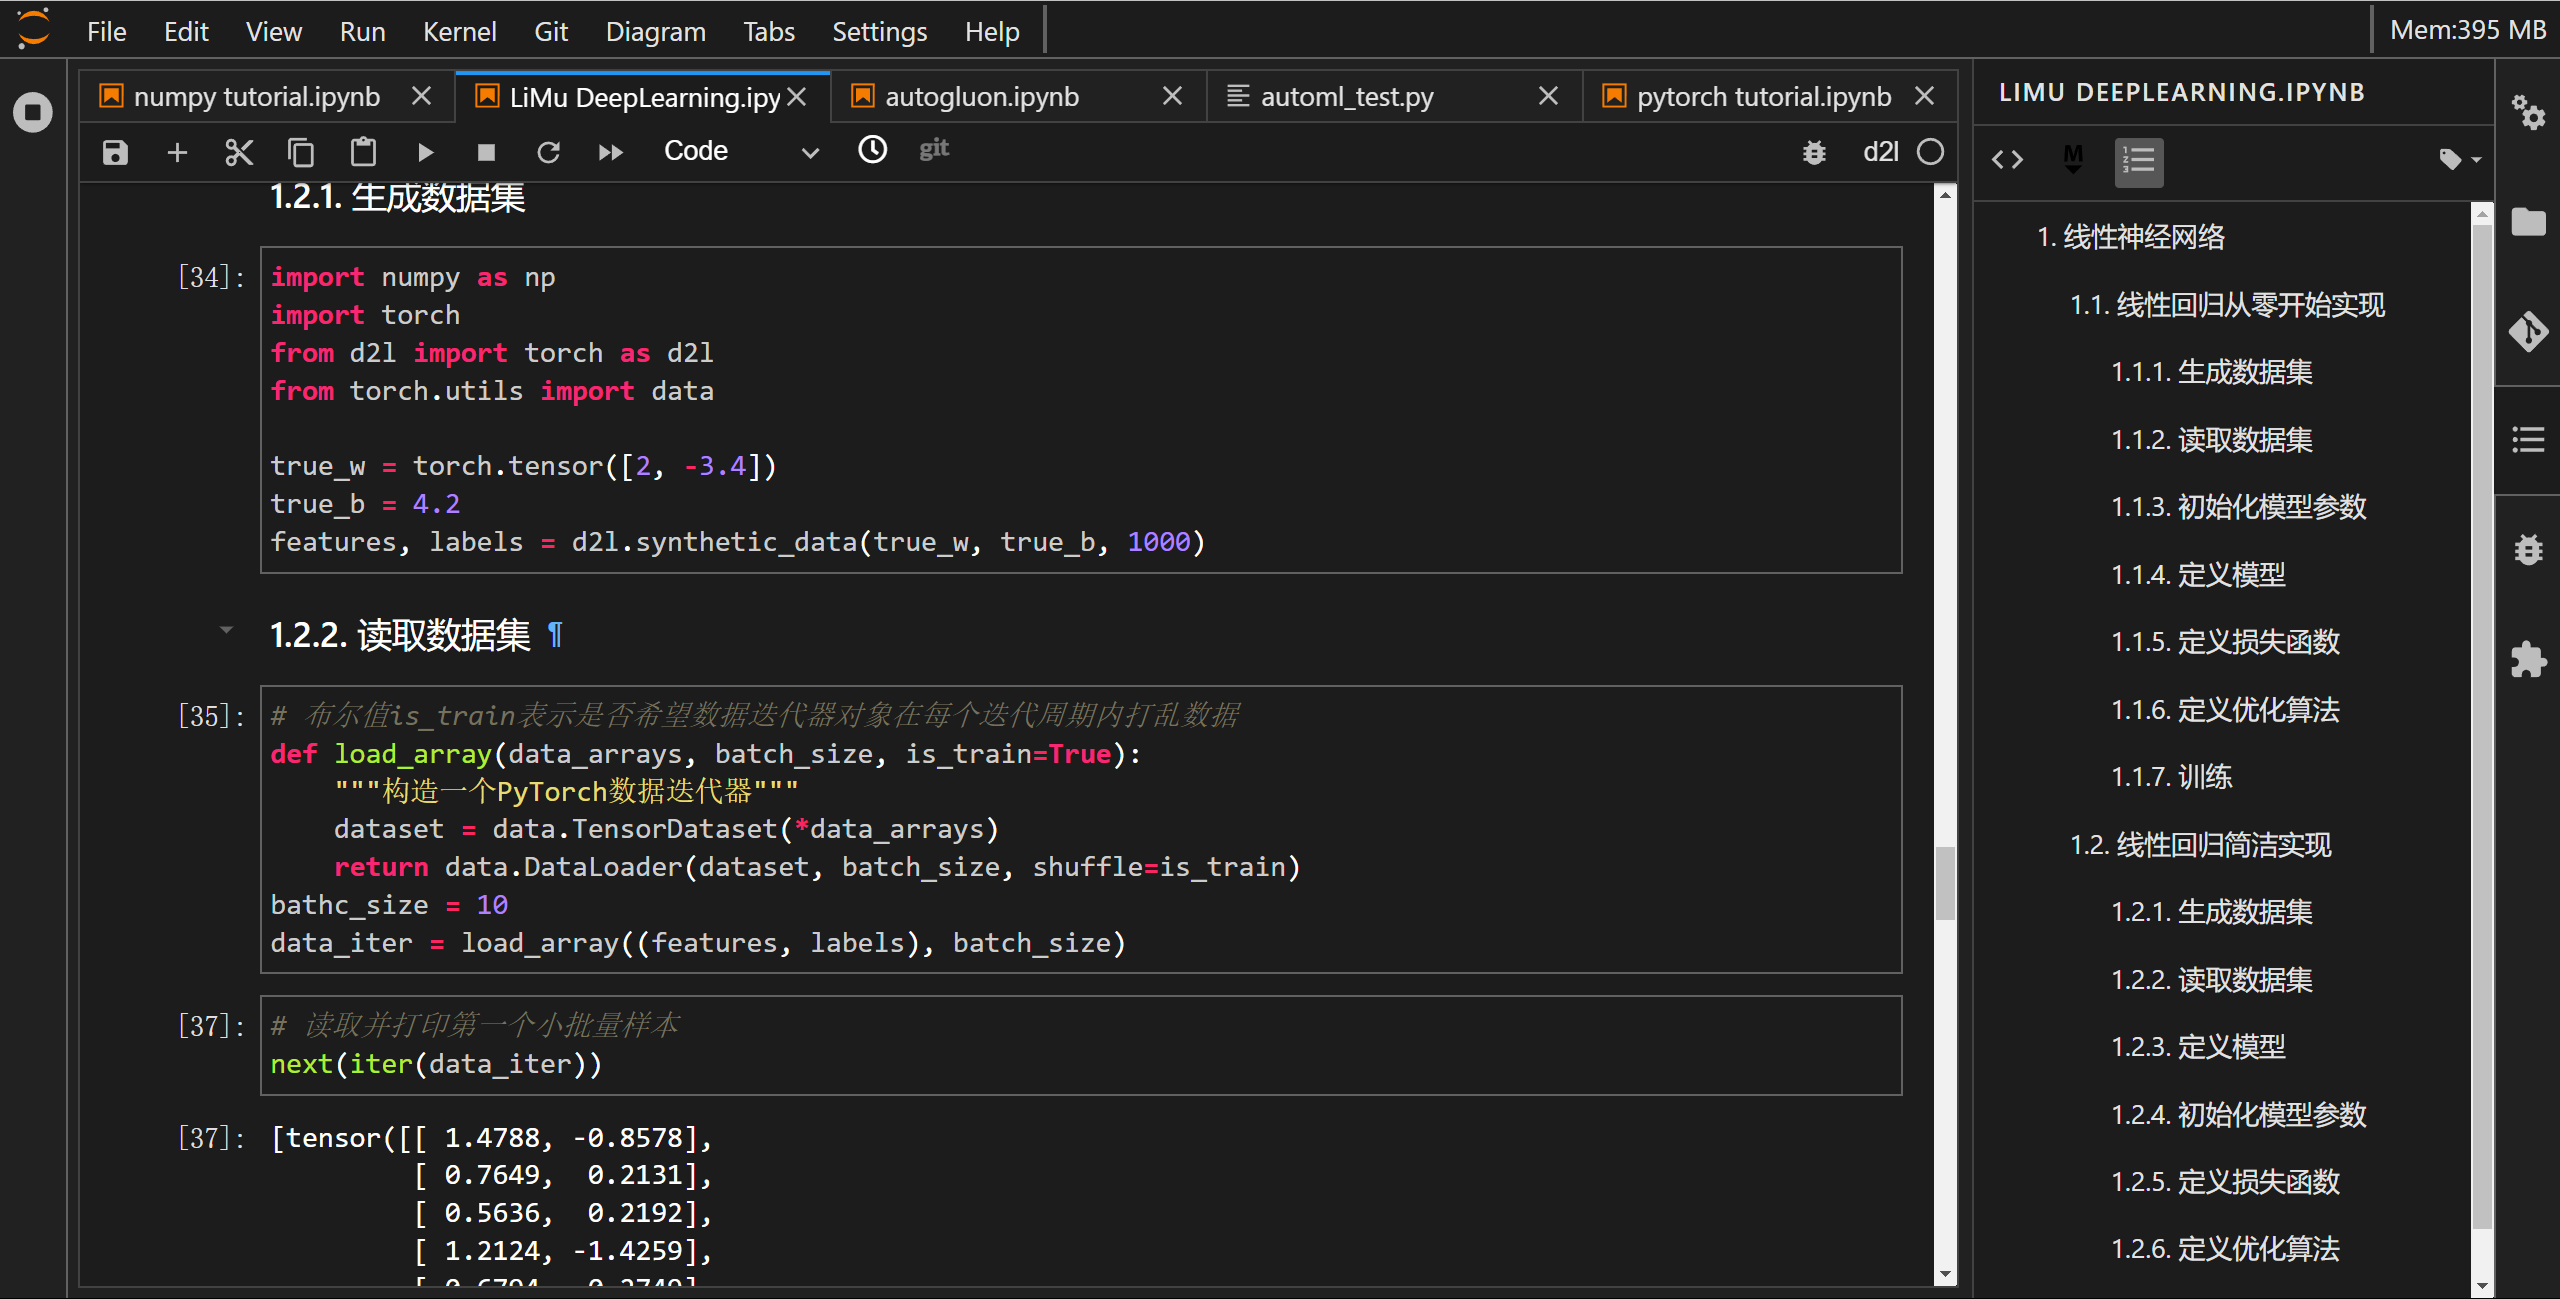
这里执行命令jupyter labextension install @hokyjack/jupyterlab-monokai-plus安装 Monokai 的拓展主题,在 theme 中选择设置,效果如下,也是我比较喜欢的一个。这里也建议安装jupyterthemes这个第三方库,否则会导致生成的图在暗黑主题下看不清:
添加快捷键
添加快捷键shift和键盘↑的↓快捷键控制jupyterlab单元格的上下移动:
{
    // notebook:move-cell-up
    // notebook:move-cell-down
    "shortcuts":[
        {
            "command": "notebook:move-cell-up",
            "keys": [
                "Ctrl Shift ArrowUp"
            ],
            "selector": ".jp-Notebook:focus"
        },
        {
            "command": "notebook:move-cell-down",
            "keys": [
                "Ctrl Shift ArrowDown"
            ],
            "selector": ".jp-Notebook:focus"
        }
    ]
}
注意:
